Your rifle’s accuracy depends on a solid mounting job
When it comes to mounting optics on our rifles, a saying from my mother rings as true now as ever, “There is doing it, and there is doing it correctly. Those are two different things.”
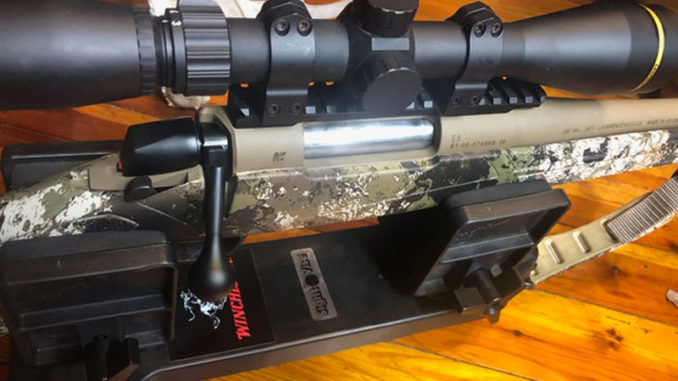
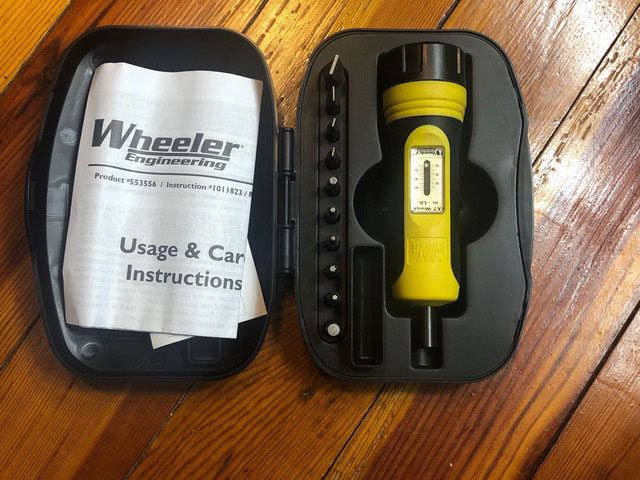
Proper scope mounting is not difficult, but there is doing it and doing it correctly. You’ll need these tools: a torque wrench for inch pounds, reticle level, lapping tools, removable thread locker. Below are the correct steps to follow when mounting a scope to your new rifle.
Bases
It’s all in the base. The foundation is critical for accuracy. The best accuracy is achieved with a single Picatinny rail base. Although this is not an option for some rifles, a one-piece base is always best. Many hunters and shooters prefer a two-piece base approach, which is fine so long as they are correct for your rifle and mounted correctly. The Picatinny rail offers a more solid platform for the rings to be secured and a stronger, more stable anchor. The most important part of a base, regardless if it is a one-piece or two-piece, is that you have the proper base for your rifle and scope. Check to verify that you have the proper bases for your make and model of rifle. They are not all the same.
Rings

When choosing rings, there are three major considerations: scope tube size, height, and fit to your bases. If you have a 50mm objective scope, your rings will need to be made for that scope. If you have a 44mm objective, then the rings need to be made for that size. The height of the scope affects accuracy, because if it is too high, you have to lift your cheek off of the stock to see clearly. Most scopes have tube sizes of 30mm. A few are a true 1-inch, but make certain your rings are designed for the one you have. Last, make sure your rings will fit your base. If you go with a Picatinny rail, your rings will need to be made for that base type and so forth.
Optics
Lastly is the scope itself. Suffice it to say, get the best you can afford. The most-important criteria here is getting these three components to fit together perfectly.
Mount the scope
By far, the most common mistake made when mounting a scope to a rifle is improper torque on the screws. I am still surprised to learn that many people don’t know there are torque specifications for mounting a scope. “I just turn it as tight as I can” is the typical response.

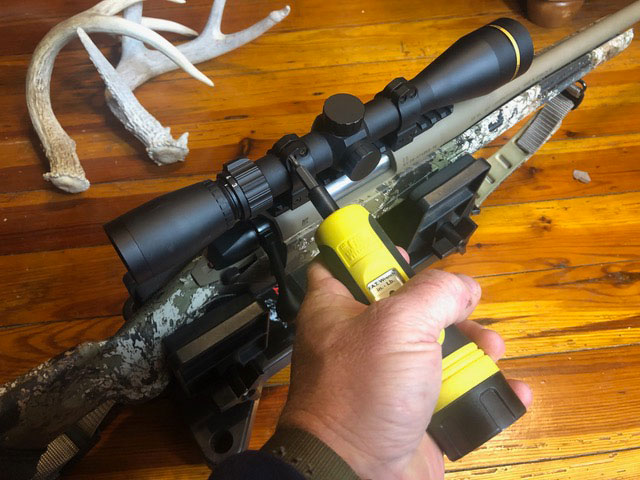
Improper torque specs are the No. 1 reason for inconsistent accuracy. Every manufacturer of bases and rings has an owner’s manual that specifies proper torque for their product. For example, Warne recommends that their bases are torqued to 25-inch pounds. If you have an aluminum receiver on your rifle, check your gun manufacturer specifications before torquing. Torque each screw to 25-inch pounds, alternating screws: one front screw, then one back screw, and another front screw and the last back screw. When done, check them all for proper torque settings.
Once the base is mounted and secured to the proper torque settings, it is time to mount the rings to the base. Set the rings in the base and tighten loosely. With the top of the rings removed, set the scope in the rings and check for eye relief. Make sure the scope is set at the proper distance. Remove the scope and tighten the rings to the base to the proper torque settings.

Level it up
Warne recommends setting their rings screws to 25-inch pounds. Do not confuse this with foot pounds. Check your manufacturer recommendations before using any thread locker.
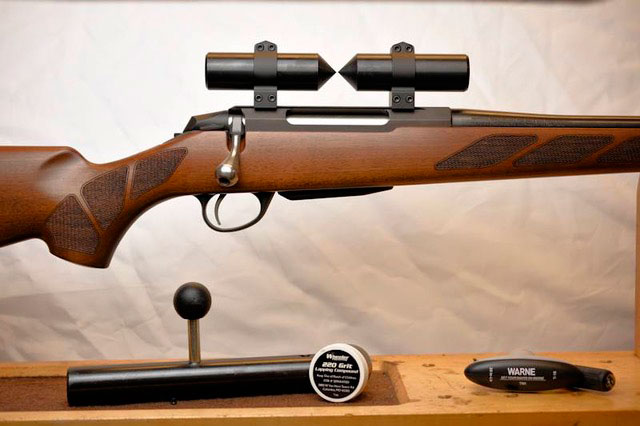
Next, it is time to check for perfect alignment between the rings. Setting the lapping jigs into the rings, the points of the jigs should align perfectly. If they do not, you will need to lap the rings to smooth and align the rings perfectly. Using a lapping tool (a round, hand-grinding tool), gently run the lapping tool through the rings and level out any imperfections in the rings, periodically checking the jigs for alignment. Once you achieve perfect alignment, you are ready to set the scope in the rings.
After setting the scope in the rings, loosely tighten the cap screws. Place a level on top of the scope and align. Once aligned, tighten the cap screws to the proper torque setting.
Your scope is now mounted and ready to take to the range.


Be the first to comment