

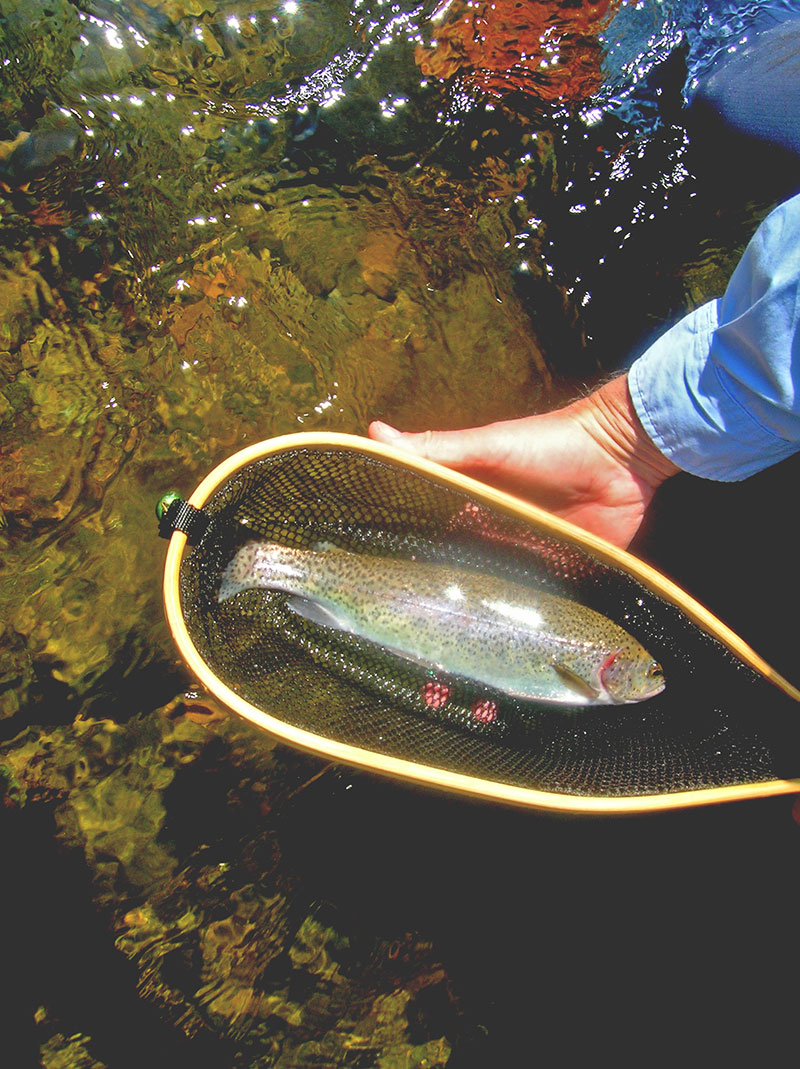
Many fly patterns are useful only at certain times. A few patterns seem to always be good for several fish. The lowly egg pattern is one that always has a place in your fly box. It is easy to tie, durable, and best of all, the pattern catches fish.
Some fly fishermen are purists and choose not to use egg patterns. This is a personal choice, but Havilah Babcock said that on occasion he carried some “garden hackle” (earthworms) for the times when the fish were being obstinate.
By the same token, many fly fishermen look with disdain at San Juan Worms. My take on this is that if I can tie an artificial that looks like food in the water, I don’t question its legitimacy.
Rigging
Egg patterns are sub-surface lures. They need to be fished deep. When fish spawn, the eggs naturally drift along the bottom. Most species of fish and some insects recognize them as food. Since they need to be fished near the bottom, you will need to pinch a split shot onto your tippet or leader.
These flies may also be fished in tandem, where legal. A good setup is to fish an egg pattern at the head of the rig and use a bead head nymph in the second position. If it is legal where you are fishing, you may choose to use two nymph patterns behind the egg pattern.
When rigging this, place the egg pattern in the first position, then you can use two different sizes and/or types of nymphs.
Tie on the egg pattern and then allow approximately 18 inches of tippet tied to the bend of the egg pattern hook. Another length of tippet should be tied to the bend of the first nymph and then the last nymph tied on. The length of tippet chosen should be based on the depth of the stream that you are fishing. Be sure to check the legality of multiple fly usage for the particular stream that you choose to fish.
Casting
You will find a tandem rig more difficult to cast, so a word of caution is in order. A slightly slower rhythm to the cast might be necessary. A tight loop will result in tangles and end up consuming a lot of time to re-rig. Sometimes it is easier to cut the rig off and start over completely. The casting technique is not exactly a “lob,” but definitely requires some finesse.
Tie your Own
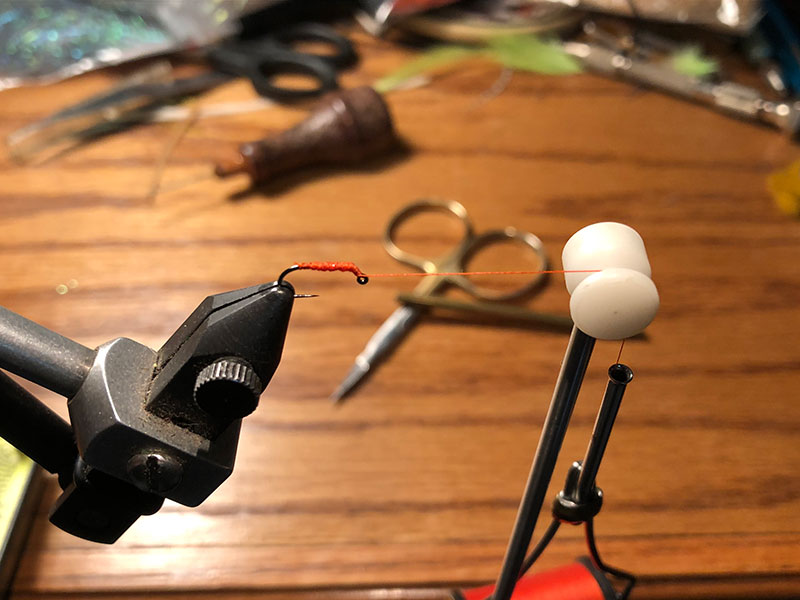
Tying egg patterns is not difficult, but a few basic tips might help. Choose a fluffy egg yarn for tying. It should be readily available at your favorite fly shop. Choose curved shank nymph hooks or jig hooks. I have chosen jig hooks recently for egg patterns and nymphs due to the hook point riding up and creating fewer snags on these deep-water patterns.
Egg yarn is available in a number of fluorescent colors, but I have had most success with orange. Build up a good thread base from behind the eye of the hook to the bend of the hook. Clip some inch-long strands of yarn from the package and lay a couple parallel to the hook. Tie two strands on top and two strands on the bottom of the hook. Clip the excess and use a barbed tool to pick out the yarn into a fuzzy ball. Use small scissors to clip into a round egg shape. I have found that using a red, permanent, felt tip marker and placing a bold dot on each side of the egg significantly increases the attraction of fish to the pattern. This probably mimics the nucleus of the egg.
Don’t fret if your flies are not perfectly symmetrical. The fish don’t mind, so why should you? Just try to make them dense and durable. You can vary the sizes from 12 to 18, but my favorites are 14 and 16.
Don’t leave home without them. You may become a convert.

Be the first to comment